Tila bead bracelets are a popular DIY jewelry trend, known for their vibrant designs and versatility․ These accessories combine Tila beads, also called Miyuki beads, with elastic cords to create stylish, customizable pieces․ Perfect for beginners and experienced crafters alike, they offer endless possibilities for personal expression and creativity․
What Are Tila Beads?
Tila beads, also known as Miyuki beads, are small, flat, tile-like beads with two holes, ideal for creating customizable jewelry․ They come in various sizes, such as 5mm squares and 2;5mm rectangles, and offer a wide range of colors and finishes․ Their versatility allows for creative arrangements and patterns, making them popular in DIY projects like bracelets․ Their dual-hole design facilitates different stitching techniques, contributing to their popularity among crafters seeking unique and stylish designs․
Popularity of Tila Bead Jewelry
Tila bead jewelry has gained immense popularity due to its vibrant designs and ease of customization․ The beads’ dual-hole feature allows for versatile stitching techniques, making them ideal for DIY projects․ Their wide range of colors and finishes enables crafters to create unique, personalized accessories․ Tila bead bracelets are particularly favored for their stylish appeal and simplicity, appealing to both beginners and experienced jewelers․ This trend has become a staple in modern handmade jewelry, offering endless creative possibilities․
Materials Needed for Making Tila Bead Bracelets
Gather Tila beads, elastic cord, scissors, a bead mat, measuring tape, and glue to create your bracelet․ These essentials ensure a smooth and successful crafting process․
Tila Beads (Miyuki Beads)
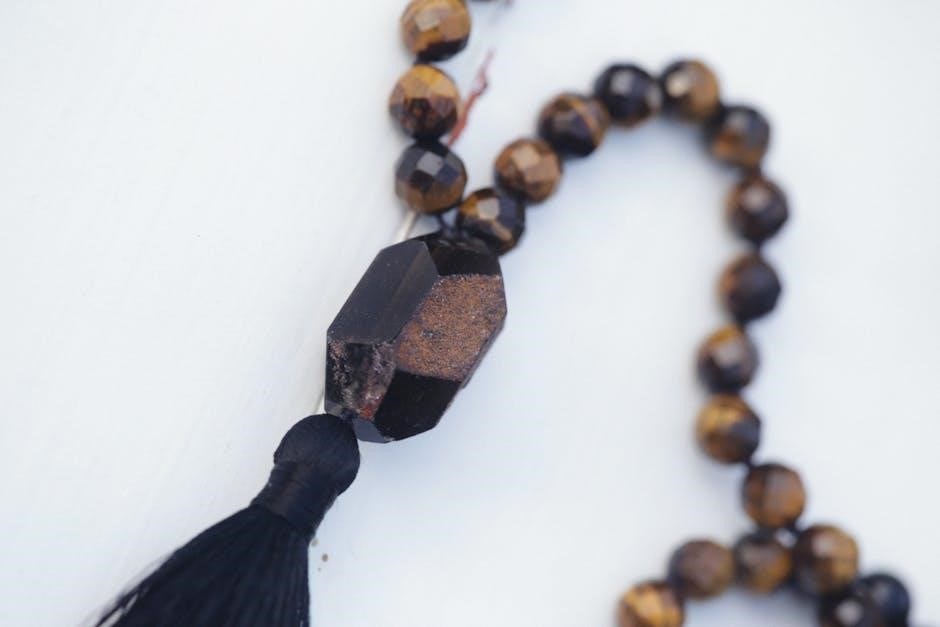
Tila beads, also known as Miyuki beads, are small, flat, and tile-like, typically measuring 5mm x 5mm or 2․5mm x 5mm․ They feature two holes, making them ideal for versatile jewelry designs․ Available in a wide range of colors, textures, and finishes, Tila beads are perfect for creating vibrant and personalized bracelets․ Their square shape allows for unique patterns and arrangements, making them a favorite among DIY enthusiasts and professional jewelers alike․ These beads are durable and easy to work with, ensuring endless creativity in bracelet making․
Elastic Cord or Beading Thread
Elastic cord or beading thread is a crucial material for making Tila bead bracelets, providing flexibility and comfort․ Popular options include Stretch Magic cord or Miyuki elastic beading cord, both durable and easy to use․ The cord should be cut longer than needed to allow for easy threading and knotting․ When using elastic cord, securing the knots with a small dot of clear glue or nail polish ensures the bracelet stays intact․ This step is essential for a professional-looking finish․
Scissors
Sharp, dedicated scissors are essential for cutting elastic cords or beading threads cleanly․ Dull scissors can fray the material, making it difficult to work with․ For precise cuts, use scissors specifically reserved for beading to maintain their sharpness․ When cutting, place the cord on a stable surface to ensure accuracy․ Clean cuts are crucial for a professional finish, as frayed ends can compromise the bracelet’s durability and appearance․ Invest in good-quality scissors to make the process smoother and more efficient․
Bead Mat or Work Surface
A bead mat or work surface is a must-have tool for making Tila bead bracelets․ It provides a soft, padded surface to work on, preventing beads from rolling away or getting lost․ The mat helps keep your beads organized and within reach, ensuring a smooth and efficient beading process․ Many bead mats also feature a non-slip bottom, keeping the surface stable while you work․ A clean, stable workspace is essential for creating intricate designs and maintaining focus during your crafting sessions․
Measuring Tape or Ruler
A measuring tape or ruler is essential for ensuring your Tila bead bracelet fits perfectly․ Use it to measure your wrist circumference, allowing you to determine the ideal length for your bracelet․ Proper measurement prevents the bracelet from being too tight or too loose, ensuring comfort and durability․ This step is crucial for achieving a professional finish and a secure fit․ Accurate sizing is key to creating a bracelet that looks great and lasts long․
Glue or Knotting Material
Glue or knotting material is crucial for securing your Tila bead bracelet’s ends․ A small dab of clear glue or nail polish on the knot ensures it doesn’t unravel, adding durability․ This step is vital for maintaining the bracelet’s structure and preventing bead loss․ Properly sealing the knot with glue or a secure knotting technique guarantees a long-lasting, professional finish․ It’s a simple yet essential detail for a polished final product․
Basic Techniques for Tila Bead Bracelets
Mastering basic techniques for Tila bead bracelets involves stringing beads, arranging designs, and measuring wrist size․ These simple methods are easy to learn and essential for crafting durable, stylish accessories․
Stringing Tila Beads
Stringing Tila beads is a straightforward process that requires precision and patience․ Begin by threading the elastic cord through the two holes of each bead, following your desired pattern․ Use a needle for easier threading, especially with smaller beads․ Ensure the beads lie flat and align properly․ Leave extra cord at the ends for tying a secure knot․ To prevent beads from sliding off, apply a small dot of glue or clear nail polish to the knot․ This step ensures a durable and neat finish․
Arranging Bead Designs
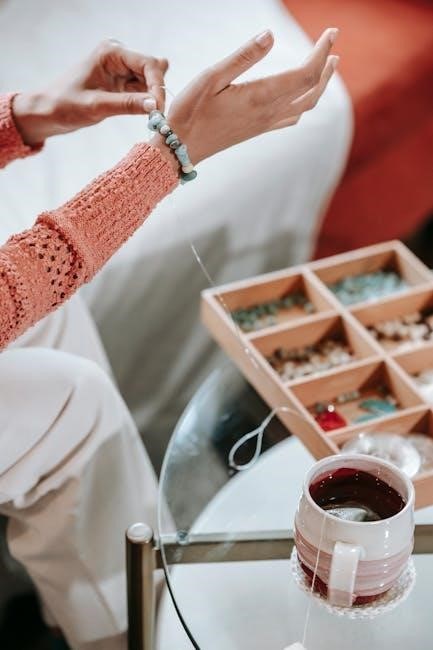
Arranging bead designs for Tila bead bracelets involves creating visually appealing patterns using the beads’ vibrant colors and shapes․ Start by laying out your design on a bead mat or work surface․ Experiment with color combinations and symmetry to achieve your desired aesthetic․ Consider measuring your wrist to ensure the bracelet length is accurate․ Once satisfied with your layout, carefully thread the beads onto the elastic cord, maintaining the pattern’s integrity․ This step allows for creativity and precision, ensuring a beautiful final piece․
Measuring Bracelet Size
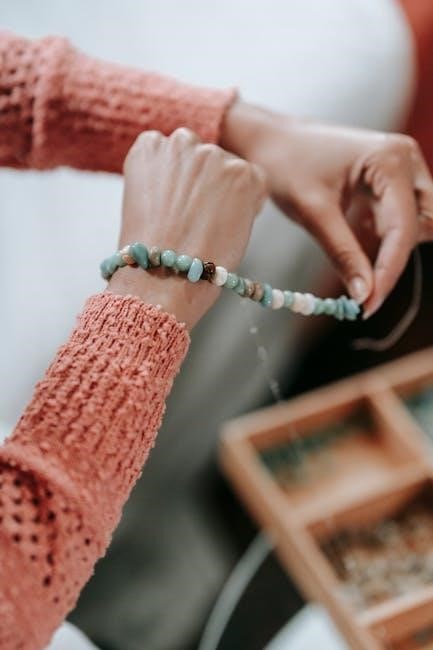
Measuring your wrist accurately is crucial for a comfortable fit․ Use a flexible measuring tape or a ruler to determine your wrist size․ Add a small allowance to ensure the bracelet isn’t too tight․ For a standard fit, most bracelets range between 6 to 8 inches․ Lay the beads on a flat surface to visualize the length and adjust as needed․ Proper measurement ensures your Tila bead bracelet will be both stylish and comfortable to wear․
Step-by-Step Guide to Making a Tila Bead Bracelet
Create a stunning Tila bead bracelet with this easy step-by-step guide․ Learn how to cut, thread, and secure beads for a perfect, personalized accessory every time․

Cutting the Elastic Cord
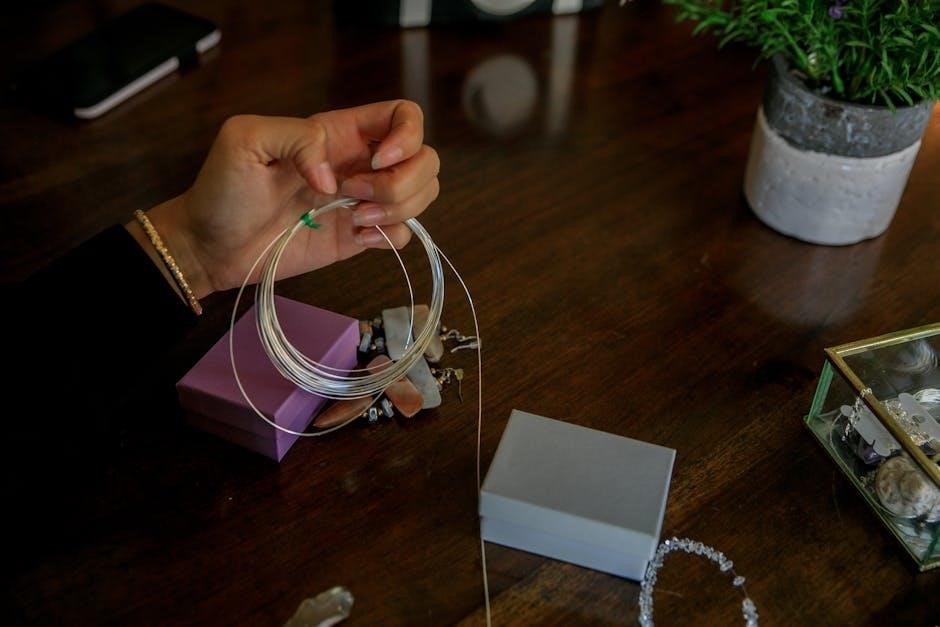
Cutting the elastic cord is the first step in making a Tila bead bracelet․ Measure and cut two pieces of elastic cord, each about 15 inches long, to ensure ample length for threading beads and tying a secure knot․ This extra length makes the process easier, allowing you to work comfortably before finalizing the size․ Use sharp scissors to avoid fraying the cord, and consider measuring against your wrist to estimate the ideal bracelet length․ A longer cord ensures flexibility during assembly․
Threading the Beads
Threading the beads is a straightforward process that requires patience and attention to detail․ Begin by holding the elastic cord steady and carefully passing each Tila bead through the top hole using a needle for easier threading․ Ensure the beads are aligned correctly and spaced evenly․ As you thread, periodically stop to gently pull the cord to tighten the beads, maintaining a uniform appearance․ This step sets the foundation for a well-crafted bracelet․
Tying the Knot
Tying a secure knot is essential to ensure your bracelet stays in place․ Once all beads are threaded, bring the two ends of the elastic cord together and tie a tight surgeon’s knot․ Apply a small amount of clear glue or nail polish to reinforce the knot․ Allow it to dry completely before trimming the excess cord with scissors․ For added security, you can also tie a second knot close to the first one․ This step ensures a durable and long-lasting bracelet․
Finishing the Bracelet
After tying the knot, trim the excess cord close to the knot using sharp scissors․ Apply a small amount of clear glue or nail polish to the knot for added durability․ Allow it to dry completely before handling the bracelet․ Inspect the bracelet to ensure it fits comfortably and all beads are securely in place․ Your Tila bead bracelet is now complete and ready to wear or gift․ This step ensures a polished and professional finish to your handmade accessory․
Tips for Customizing Your Tila Bead Bracelet
Personalize your Tila bead bracelet by experimenting with vibrant colors, mixing patterns, and adding embellishments like crystals or metal accents for a unique, stylish look․
Choosing Colors and Patterns
Selecting the right colors and patterns is key to creating a unique Tila bead bracelet․ Explore vibrant color combinations, from bold contrasts to subtle pastels, to match your personal style․ Consider seasonal themes or meaningful hues for a personalized touch․ Patterns like stripes, gradients, or symmetrical designs add visual interest․ Mix textures and finishes to enhance the bracelet’s appeal․ Experiment with different layouts on a bead mat before stringing to ensure your design flows seamlessly and reflects your creativity․
Adding Embellishments
Enhance your Tila bead bracelet by incorporating embellishments like crystals, charms, or metal accents․ These additions can add texture, sparkle, and personality to your design․ Consider placing a statement bead or charm between Tila beads for a focal point․ For a subtle touch, use small seed beads or spacer beads to create depth․ Apply a dab of glue or use a jump ring to secure embellishments, ensuring they stay in place․ This step allows for endless creativity and customization to make your bracelet truly unique․
Using Different Bead Sizes
Experimenting with various bead sizes adds visual interest to your Tila bead bracelet․ Mix full-size Tila beads (5mm x 5mm) with half Tila beads (2․5mm x 5mm) for a dynamic look․ Incorporate smaller seed beads or larger accent beads to create texture and depth․ This technique allows for unique layering and dimension, making your bracelet stand out․ By combining bead sizes, you can craft designs that range from delicate to bold, catering to different styles and preferences․

Troubleshooting Common Mistakes
Troubleshooting common mistakes ensures a polished finish․ Prevent beads from sliding off by securing knots tightly․ Fix uneven arrangements by adjusting bead placement․ Ensure knots are tight and durable for a professional look․
Preventing Beads from Sliding Off
To prevent beads from sliding off, ensure knots are tightly secured․ Apply a small dot of clear nail polish or glue to the knot for added durability․ Use bead stoppers or a piece of tape on the cord to keep beads in place while working․ Avoid leaving excess cord, as this can cause beads to shift․ Regularly check the tension of your design to ensure it’s not too loose or too tight, promoting a secure and even arrangement of beads․
Fixing Uneven Bead Arrangement
If your beads are uneven, gently slide them along the cord to adjust their spacing․ Lay the bracelet flat on a bead mat to visualize the design․ Check the length by wrapping it around your wrist and tighten or loosen the beads as needed․ For precise alignment, use a measuring tape to ensure even distribution․ If beads are misaligned, carefully remove and rethread them, ensuring the design is symmetrical and balanced before securing the final knot․
Ensuring a Secure Knot
To ensure a secure knot, tie multiple tight knots at the end of the elastic cord․ Apply a small amount of glue or clear nail polish to seal the knot, preventing it from coming undone․ Allow the adhesive to dry completely before wearing the bracelet․ For added security, trim the excess cord close to the knot․ This method ensures the bracelet stays intact and maintains its durability over time, providing a professional finish to your handmade piece․
Advanced Techniques for Tila Bead Bracelets
Take your Tila bead bracelet crafting to the next level with intricate designs, such as multi-row patterns, layered bead arrangements, and incorporating complementary bead styles for a polished look․
Using Multiple Rows of Beads
Creating bracelets with multiple rows of Tila beads adds complexity and visual appeal․ Use a bead loom or stabilizing material to align rows neatly․ Thread beads for each row separately, ensuring even spacing and secure knots․ This technique allows for intricate patterns and layered designs․ Experiment with contrasting colors and textures for a unique, eye-catching accessory․ While more advanced, multi-row bracelets offer a rewarding challenge for crafters looking to elevate their Tila bead creations․
Incorporating Other Bead Types
Enhance your Tila bead bracelets by mixing in other bead types, such as seed beads, crystal beads, or metal beads, for added texture and sparkle․ Use seed beads to fill gaps or create intricate patterns, while crystal beads add luxury․ Metal beads can provide a modern, edgy contrast․ Experiment with different shapes and sizes to create unique layered designs․ This technique allows for endless creativity, making your bracelet truly one-of-a-kind while maintaining the Tila bead foundation․
Creating Layered Designs
Layered designs add depth and visual interest to Tila bead bracelets․ Stack multiple rows of beads using elastic cords or threads, ensuring each layer is securely knotted․ Experiment with alternating colors or patterns between layers for a dynamic look․ You can also incorporate embellishments like seed beads or crystals between layers for extra sparkle․ This technique creates a dimensional, eye-catching accessory that showcases your creativity and skill in advanced beadwork techniques․
Tila bead bracelets are a fun and creative way to express personal style․ With endless design options, they offer a rewarding DIY experience for crafters of all levels․
Final Tips for Making Tila Bead Bracelets
Experiment with color combinations and patterns to create unique designs․ Use a bead spinner for easier threading and to save time․ Start with simple patterns for beginners and gradually incorporate complex designs․ Consider adding embellishments like crystals or metal beads for extra flair․ Practice makes perfect—don’t be discouraged by initial mistakes․ Most importantly, have fun and let your creativity shine through your handmade Tila bead bracelets!
Encouragement to Experiment and Create
Embrace your creativity and dive into the world of Tila bead bracelet making! With their vibrant colors and versatile designs, Tila beads offer endless possibilities for self-expression․ Don’t be afraid to try new patterns, mix-and-match colors, or add unique embellishments․ Every bracelet is a chance to tell a personal story․ Whether you’re crafting for yourself or as a gift, the process is just as rewarding as the final result․ Let your imagination shine and enjoy the journey of creating something truly special!